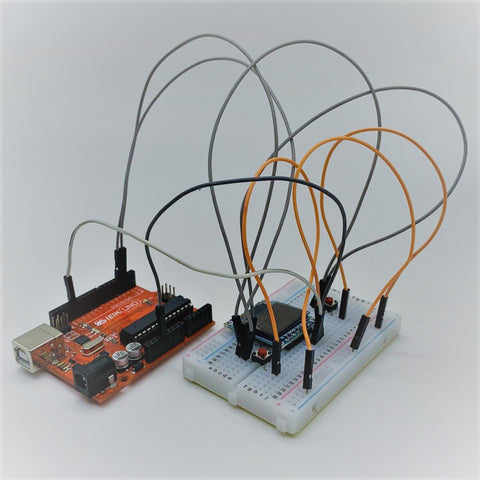
Hi folks, today we have a very simple tutorial for you. We will be building a simple pong game using Arduino. This tutorial is very simple and should not take more than 15 minutes to build. To start off, we will need the components mentioned below:
- Arduino Uno or Nano or Mega or ProMini x 1
- 7 Pin Color OLED Screen
- Two tactile Buttons
- Jumper Wires
First up we will download all the required libraries for this game. We need Adafruit GFX and Color OLED libraries, which can be found here and here respectively or you can also download it from our GitHub!
Next, connect all the components as follows:
- Connect the buttons Ground to the Ground line on the breadboard.

- Connect OLED Screens Ground to the Ground line on the breadboard.

- Connect the left button’s +ve to D3 of Arduino.

- Connect the right button’s +ve to D2 of Arduino.

- Connect OLED Screens VCC to the 3.3V of Arduino.

- Connect OLED Screens SCL pin to D13 of Arduino.

- Connect OLED Screens SDA pin to D11 of Arduino.

- Connect OLED Screens RES pin to D9 of Arduino.

- Connect OLED Screens DC pin to D8 of Arduino.

- Connect OLED Screens CS pin to D10 of Arduino.

After all the components are connected and libraries are installed. Compile and upload the code on to your Arduino, which can be found here.
After the upload is complete, hit the RESET button on Arduino and game on!!


