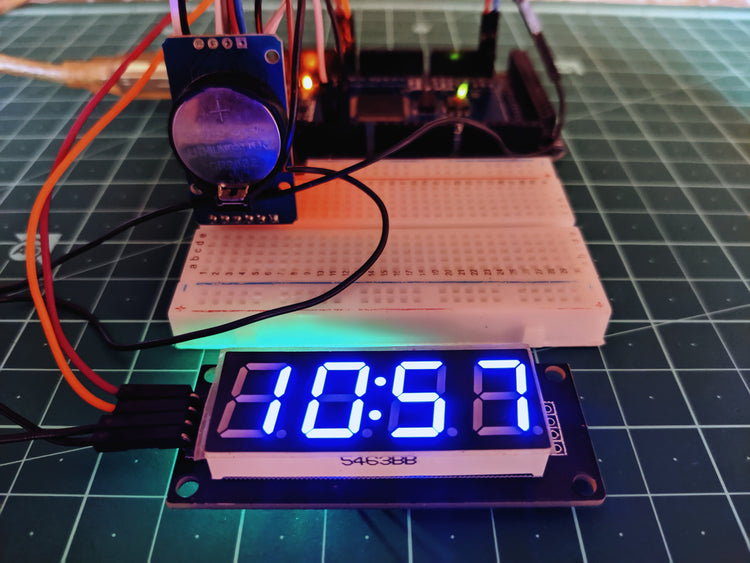
Digital clocks are very useful time-keeping devices.This tutorial is all about making your own digital clock!
Components Required:
I have used an Arduino Mega in this case. This microcontroller interfaces with the DS3231 and the TM1637.
NOTE: Make sure you know the SDA and SCL pins of your arduino, and connect the display accordingly. For Mega it is 20 and 21 respectively.
This module contains the SMD TM1637 IC which is connected to the Seven Segment display. It is used as a driver IC to interface with the seven segment display.

Any RTC module(I have used DS3231 in this case)
This module is used as a time keeping device, minus the display. We set and store the time value in this device. Even after unplugging the device the clock keeps ticking, since we have a 3v CR2032 battery attached to it.
How it works
Firstly, we need to set the time in the RTC module before calling it. Here’s the code to set the time.

Once done with that, we need to make sure both the TM1637 .cpp and .h files are included.
The TM1637 displays the time on the seven segment display.
Wiring:


Code:
Once done with wiring, set the time in the DS3231 using this code. Then, upload the main Digital Clock code, along with the included .cpp and .h files.

Once uploaded, the clock should be up and running.
Author- Moksh Jadhav


