

DIY Quadruped Robot Dog: A Complete Guide to Building Your Own Four-Legged Robot

Robotics enthusiasts and hobbyists are increasingly drawn to quadruped robot dogs due to their impressive mobility, versatility, and the exciting challenge they present. A DIY quadruped robot dog project offers a hands-on way to learn about mechanics, electronics, programming, and artificial intelligence. Whether you’re a beginner or an experienced maker, building your own quadruped robot dog can be a rewarding and educational experience.
In this comprehensive guide, we’ll explore everything you need to know about creating a DIY quadruped robot dog—from design considerations and components to programming tips and practical applications.
What is a Quadruped Robot Dog?
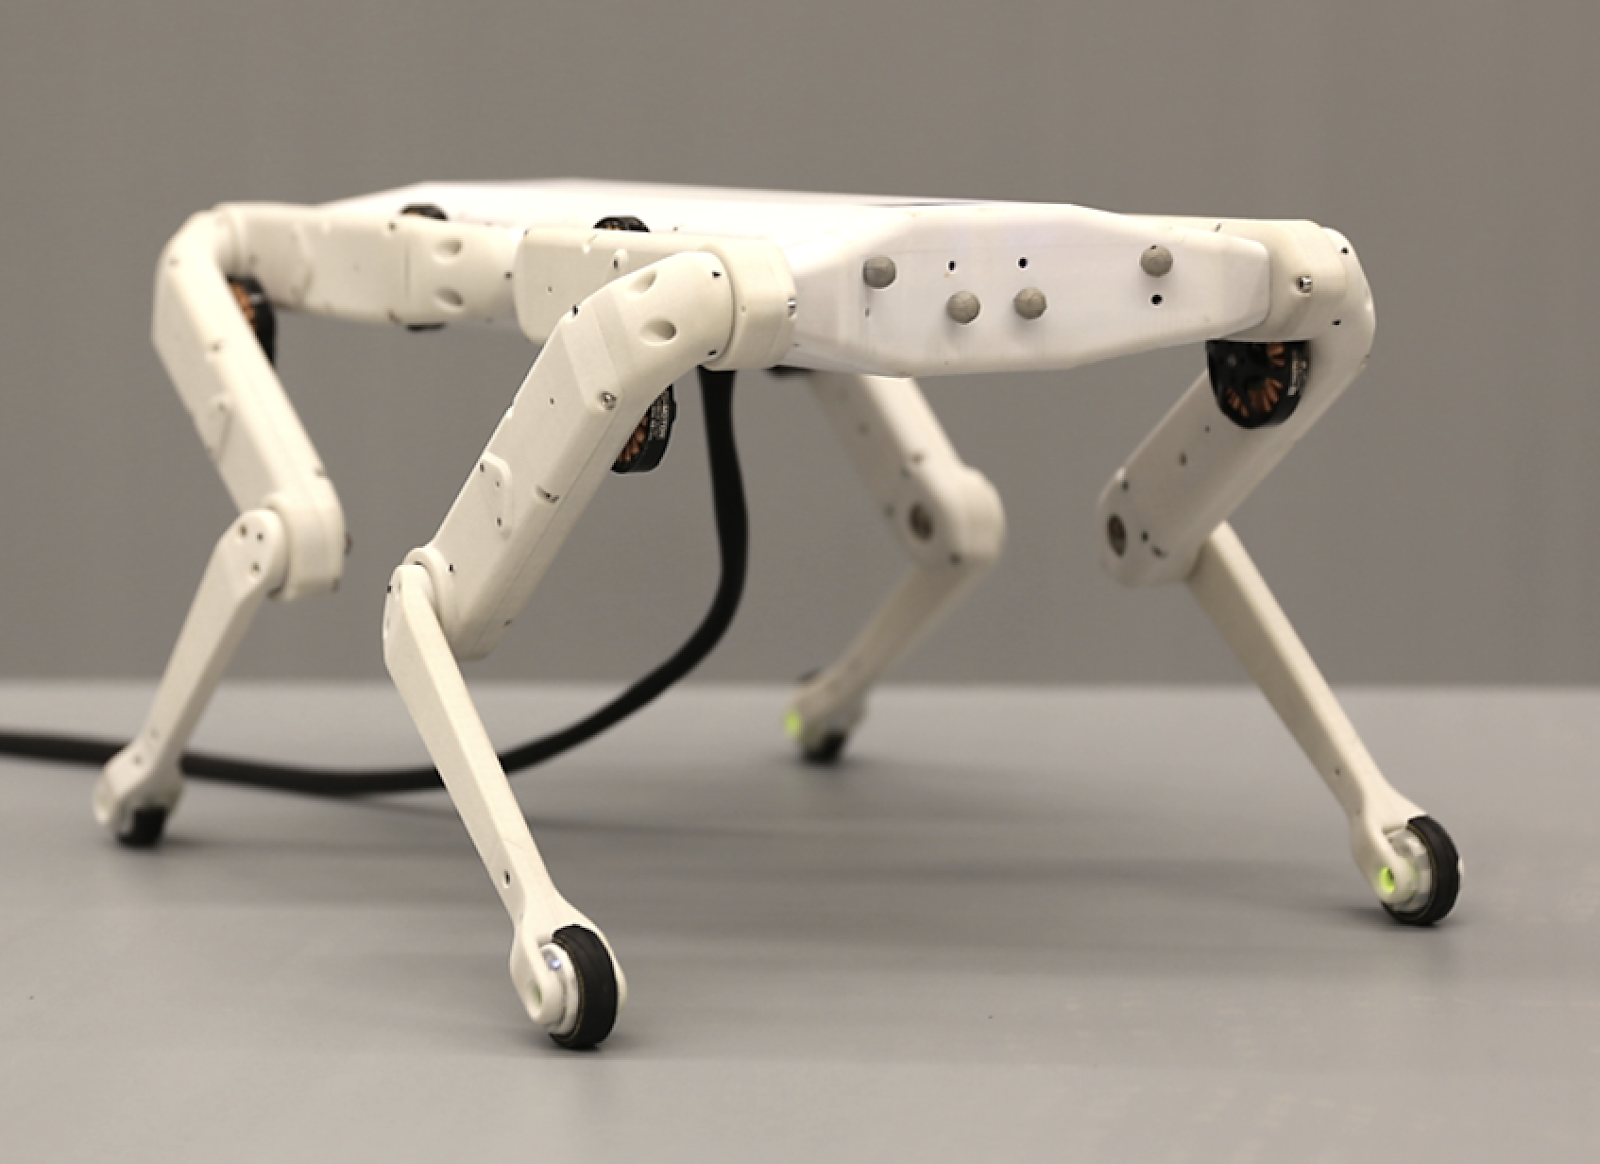
A quadruped robot dog is a four-legged robot designed to mimic the walking and running motions of real dogs. These robots use multiple servo motors or actuators to control each leg’s joints, enabling complex movements such as walking, turning, climbing, and even jumping.
Quadruped robots are used in research, entertainment, search and rescue, and education. DIY versions allow hobbyists to experiment with robotics concepts and develop custom functionalities.
Why Build a DIY Quadruped Robot Dog?
-
Educational Value: Learn about robotics, kinematics, electronics, and programming.
-
Customization: Tailor the robot’s design, sensors, and behaviors to your needs.
-
Cost-Effective: Build a capable robot at a fraction of the cost of commercial models.
-
Community Support: Access open-source designs, tutorials, and forums.
-
Fun and Creativity: Enjoy the challenge and satisfaction of building a walking robot.
Key Components of a DIY Quadruped Robot Dog
1. Frame and Structure
-
Materials: Aluminum, acrylic, 3D-printed plastic, or wood.
-
Design: Lightweight yet sturdy to support motors and electronics.
-
Joints: Hinges or brackets to allow leg articulation.
2. Motors and Actuators
-
Typically, servo motors control each joint.
-
Each leg usually has 3 degrees of freedom (hip, knee, ankle).
-
Choose servos with sufficient torque and speed for smooth movement.
3. Microcontroller or Single-Board Computer
-
Popular choices include Arduino, Raspberry Pi, or ESP32.
-
Controls motor signals and processes sensor data.
-
Raspberry Pi allows advanced AI and vision capabilities.
4. Power Supply
-
Rechargeable LiPo or Li-ion batteries.
-
Voltage regulators to provide stable power to motors and electronics.
5. Sensors
-
IMU (Inertial Measurement Unit) for balance and orientation.
-
Ultrasonic or infrared sensors for obstacle detection.
-
Cameras for vision-based navigation (optional).
6. Communication Modules
-
Bluetooth or Wi-Fi for remote control.
-
RF modules for wireless commands.
Designing Your Quadruped Robot Dog
Step 1: Define Your Goals
-
What do you want your robot to do? Walk, run, climb, or interact?
-
Will it be autonomous or remote-controlled?
-
What’s your budget and skill level?
Step 2: Choose a Mechanical Design
-
Decide on leg length, joint angles, and overall size.
-
Use CAD software or open-source designs for precision.
Step 3: Select Motors and Electronics
-
Calculate torque requirements based on robot weight.
-
Choose compatible microcontrollers and sensors.
Step 4: Build the Frame
-
Cut or print parts.
-
Assemble using screws, nuts, and brackets.
Programming Your Quadruped Robot Dog
Basic Movement Control
-
Use inverse kinematics to calculate joint angles for desired foot positions.
-
Program walking gaits such as trot, walk, or crawl.
-
Control servos using PWM signals.
Sensor Integration
-
Use IMU data to maintain balance.
-
Implement obstacle avoidance using distance sensors.
Advanced Features
-
Add computer vision for object recognition.
-
Implement voice or gesture control.
-
Use machine learning for adaptive walking.
Popular Open-Source DIY Quadruped Projects
-
OpenDog: A fully open-source quadruped robot with detailed build instructions.
-
Mini Cheetah: A smaller quadruped robot with advanced locomotion.
-
Bittle: A compact, programmable quadruped robot kit for beginners.
These projects provide valuable resources, code libraries, and community support.
Tips for Building a Successful Quadruped Robot Dog
-
Start Simple: Begin with basic walking before adding complex behaviors.
-
Test Incrementally: Verify each joint and sensor before full assembly.
-
Balance Weight: Keep the center of gravity low for stability.
-
Use Quality Components: Reliable servos and sensors reduce troubleshooting.
-
Document Your Work: Keep notes and videos to track progress and share with the community.
Applications of Quadruped Robot Dogs
-
Education: Teaching robotics and programming concepts.
-
Research: Studying locomotion and AI algorithms.
-
Entertainment: Interactive robotic pets and toys.
-
Search and Rescue: Navigating rough terrain where wheeled robots struggle.
-
Surveillance: Patrolling and monitoring environments.
Conclusion
Building a DIY quadruped robot dog is an exciting journey that combines mechanical design, electronics, and programming. With the right components, careful planning, and patience, you can create a robot capable of walking, sensing, and interacting with its environment. Whether for learning, research, or fun, a quadruped robot dog project offers endless opportunities to explore the fascinating world of robotics.
Frequently Asked Questions
1. How many servos are needed for a quadruped robot dog?
Typically, 12 servos are used—3 per leg for hip, knee, and ankle joints.
2. Can beginners build a quadruped robot dog?
Yes, many kits and open-source projects are designed for beginners with step-by-step instructions.
3. What programming languages are used for quadruped robots?
Common languages include C/C++ for Arduino and Python for Raspberry Pi-based systems.
4. How long does it take to build a DIY quadruped robot dog?
Depending on complexity and experience, it can take from a few days to several weeks.
5. Can quadruped robots navigate uneven terrain?
With proper sensors and control algorithms, quadruped robots can handle rough and uneven surfaces better than wheeled robots.