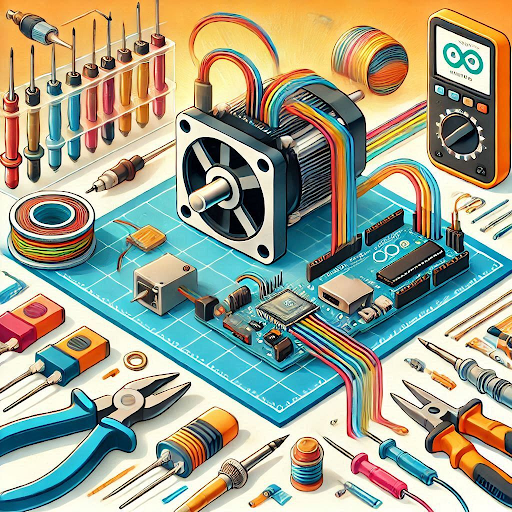
Stepper motors are precise, reliable, and versatile components that are integral to a variety of applications, including robotics, 3D printing, and automation systems. They offer precise control of position, speed, and rotation, making them ideal for tasks where accuracy is key. If you’re wondering how to use stepper motors with Arduino, this guide will walk you through the basics and provide a step-by-step process to get started.
What Are Stepper Motors?

A stepper motor is an electromechanical device that converts electrical pulses into discrete mechanical movements. Unlike DC motors, which rotate continuously, stepper motors move in fixed steps. This step-by-step movement ensures precision and repeatability, crucial for tasks like CNC machining or camera stabilization.
There are two main types of stepper motors:
-
Unipolar Stepper Motors – These have five or six wires and are easier to control with simpler circuits.
-
Bipolar Stepper Motors – These have four wires and require an H-bridge driver to control them but offer higher torque.
Required Components
To get started with stepper motors, you’ll need:
- Arduino board (e.g., Arduino Uno)
- Stepper motor (bipolar or unipolar)
- Motor driver/driver module (e.g., ULN2003 for unipolar motors or L298N for bipolar motors)
- Power supply (appropriate voltage and current for your motor)
- Connecting wires
For reliable components and kits, you can explore ThinkRobotics, a trusted provider of high-quality robotics equipment.
Wiring the Stepper Motor to Arduino
Here’s a step-by-step guide on how to use stepper motors with Arduino:
- Identify Motor Wires:
- For unipolar motors, identify the common wire and connect it to the power supply.
- For bipolar motors, use a multimeter to pair the wires of each coil.
- Connect the Motor Driver:
- If using a ULN2003 driver for unipolar motors, connect the motor’s wires to the driver’s output pins.
- For bipolar motors, connect the motor’s wires to the H-bridge outputs on an L298N module.
- Power the Motor Driver:
- Connect the driver’s power input to an external power supply that matches the motor’s voltage requirements.
- Ensure the driver’s ground is connected to the Arduino’s ground.
- Connect Control Pins:
- Attach the driver’s control pins to the Arduino’s digital pins (e.g., D8, D9, D10, D11).
- Install the Stepper Library:
- In the Arduino IDE, go to Sketch > Include Library > Manage Libraries and search for the "Stepper" library.
Coding the Stepper Motor
The Arduino IDE provides a built-in library to simplify stepper motor control. Below is a basic example:
cpp
#include <Stepper.h>
// Define the number of steps per revolution
const int stepsPerRevolution = 200;
// Initialize the stepper library on pins 8 to 11
Stepper myStepper(stepsPerRevolution, 8, 10, 9, 11);
void setup() {
myStepper.setSpeed(60); // Set motor speed to 60 RPM
Serial.begin(9600);
}
void loop() {
Serial.println("Clockwise");
myStepper.step(stepsPerRevolution); // Move 1 revolution clockwise
delay(1000);
Serial.println("Counterclockwise");
myStepper.step(-stepsPerRevolution); // Move 1 revolution counterclockwise
delay(1000);
}
This code initializes the motor, sets its speed, and alternates its direction with each loop iteration.
Practical Applications
Understanding how to use stepper motors with Arduino opens up numerous possibilities, such as:
- 3D Printers: Stepper motors control the precise movement of printer heads.
- CNC Machines: They enable detailed cuts and designs.
- Robotic Arms: Stepper motors ensure precise joint movements.
- Camera Sliders: They allow smooth, repeatable camera panning for professional-grade videography.
For these projects, you can find pre-assembled kits and modules at ThinkRobotics, catering to beginners and professionals alike.
Tips for Optimizing Stepper Motor Performance
-
Choose the Right Driver:
Select a driver that matches your motor’s voltage and current requirements. For instance, use an A4988 driver for compact setups or a DRV8825 for high-performance applications.
-
Power Supply Matters:
Ensure the power supply provides sufficient current. Insufficient power can cause skipping or stalling.
-
Heat Management:
Stepper motors and drivers can generate significant heat. Add heatsinks or cooling fans if necessary.
-
Microstepping:
Some drivers support microstepping, which improves smoothness and precision.
-
Test and Calibrate:
Experiment with different speeds and step counts to optimize performance for your application.

Why Choose ThinkRobotics?
If you’re embarking on a project involving stepper motors, it’s essential to have reliable and high-quality components. ThinkRobotics is a leading provider of robotics kits, sensors, motor drivers, and more. Their products are designed for hobbyists, students, and professionals looking to create innovative solutions.
With a focus on affordability, quality, and customer support, ThinkRobotics is your go-to source for building robotics and automation projects.
Conclusion
Learning how to use stepper motors with Arduino is a valuable skill for anyone interested in robotics and automation. By combining the precision of stepper motors with the versatility of Arduino, you can create projects ranging from simple gadgets to complex machines.
Whether you’re a beginner or an experienced maker, ThinkRobotics has the components and kits you need to bring your ideas to life. Start exploring the possibilities today!
Frequently Asked Questions
-
What library should I use to control stepper motors with Arduino?
The built-in Stepper library in the Arduino IDE is sufficient for basic control. For advanced features, you can use libraries like AccelStepper.
-
What is microstepping, and how does it improve performance?
Microstepping divides each motor step into smaller steps, improving smoothness and accuracy at the cost of torque.
-
Can I control multiple stepper motors with a single Arduino?
Yes, but you’ll need additional motor drivers and may have to optimize your code to handle multiple motors efficiently.
-
What are common issues when using stepper motors with Arduino?
Common issues include insufficient power supply, overheating of drivers, incorrect wiring, and skipped steps due to high speeds.
-
Where can I buy quality stepper motors and Arduino components?
You can find reliable stepper motors, drivers, and other components at ThinkRobotics.

